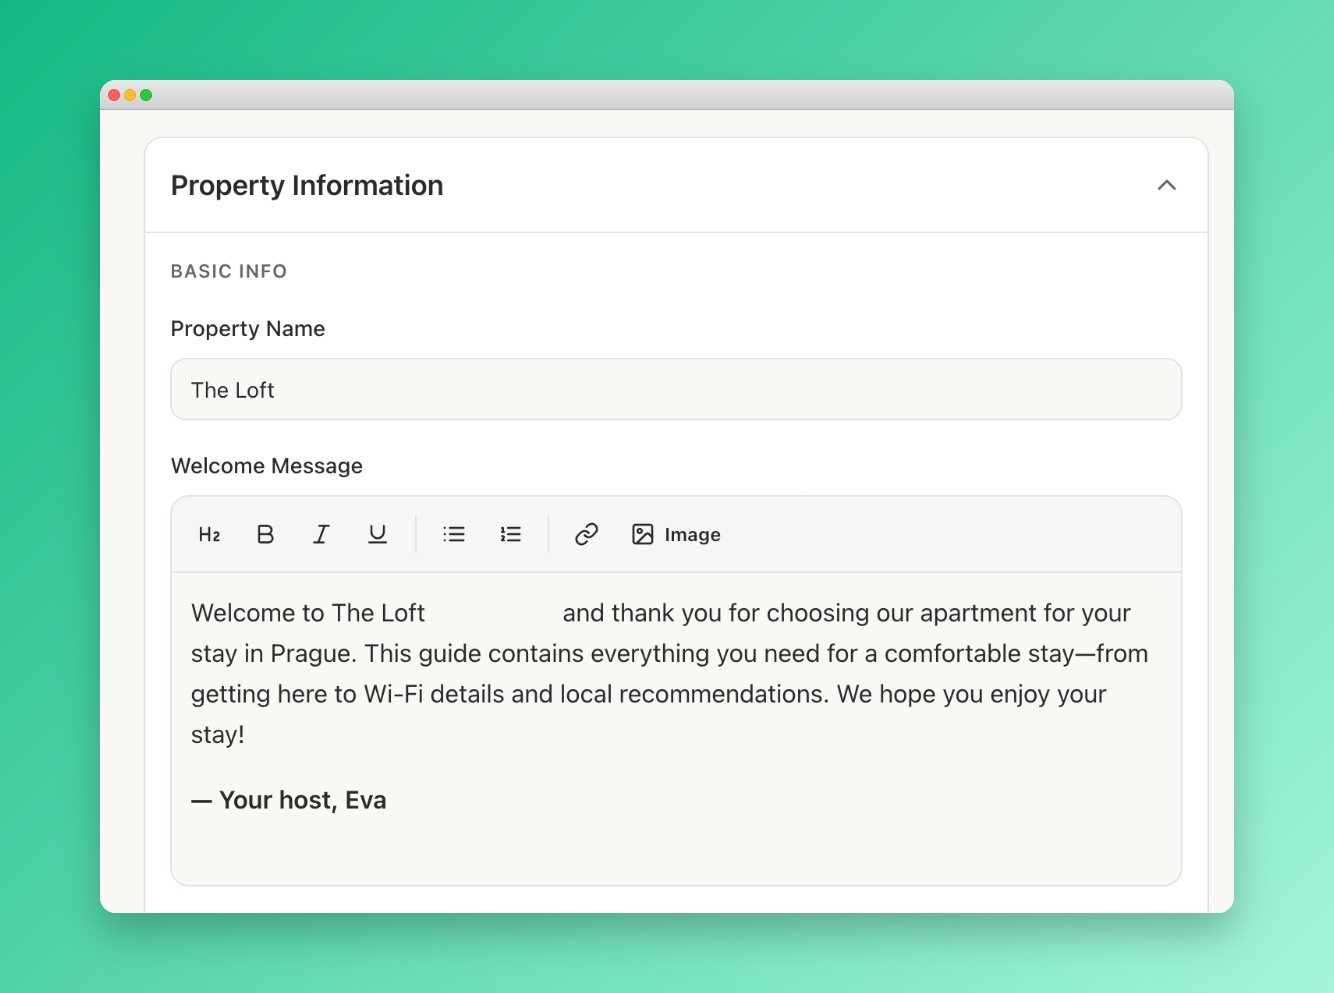
The Welcome section
The Welcome section is typically the first thing guests see when they open your portal. It displays your host photo, your name, and a personalised message — making the experience feel human and welcoming rather than transactional.
Setting up your host info
Open the Portal Builder
Open the Portal Builder and you will see the Welcome section as the first thing on the screen
Upload your host photo
Click the photo upload area and select an image. A smiling, well-lit headshot works best. Recommended: 400×400px, square crop. Supported: JPG, PNG, WebP.
Enter your host name
This is the name displayed below your photo — usually your first name. If you co-host, you can write both names: "Sarah & Tom".
Write your welcome message
Keep it warm and brief — 2-4 sentences is ideal. Thank them for booking, mention a highlight of the property or neighbourhood, and tell them you're available if they need anything.
 Screenshot: Profile photo section editor
The section editor showing the host photo upload and name field
Screenshot: Profile photo section editor
The section editor showing the host photo upload and name field
"Welcome to our cosy apartment in the heart of Lisbon! We hope you love this neighbourhood as much as we do. Everything you need is in this guide, but don't hesitate to reach out if you have any questions. Enjoy your stay! 🏡"
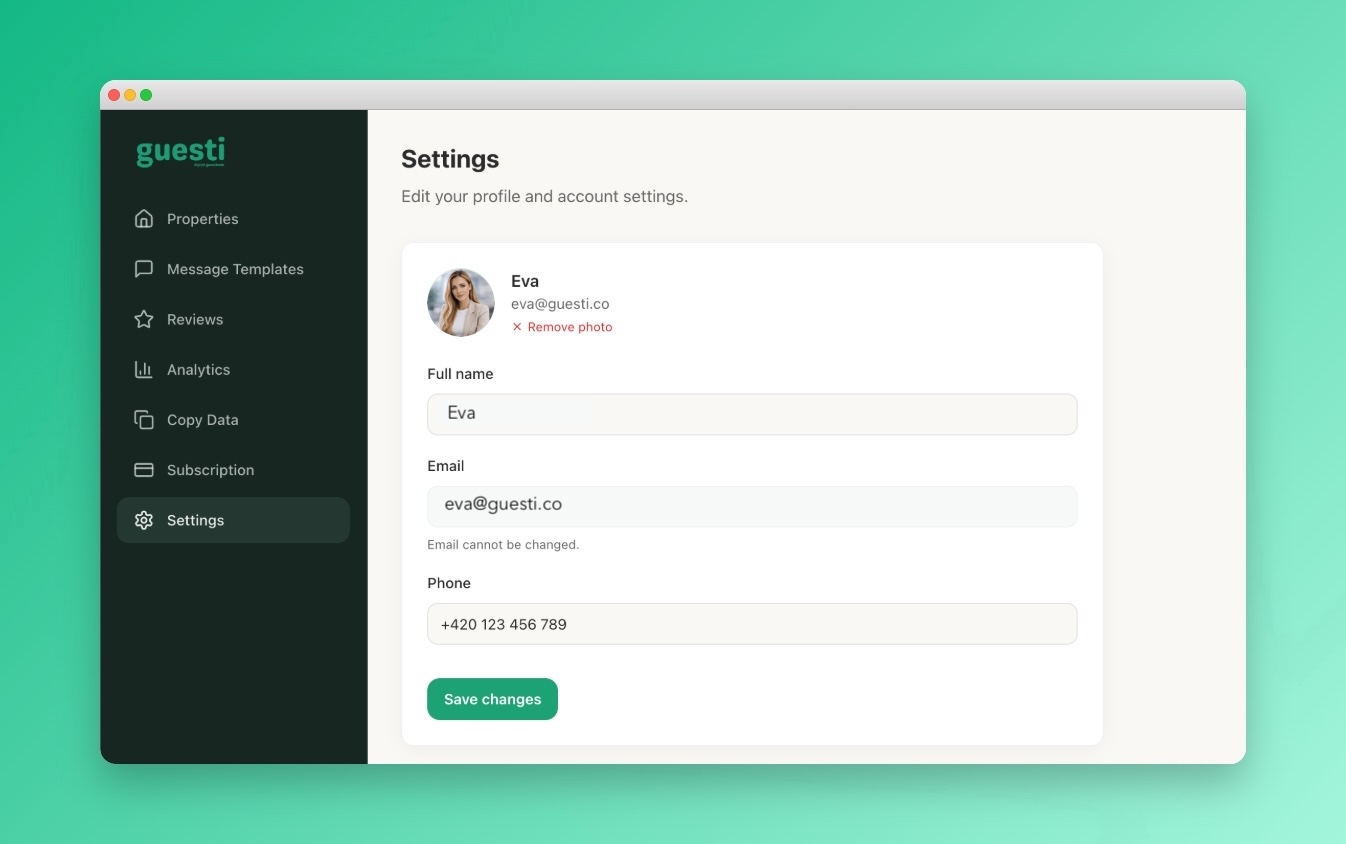
Using your profile photo
Alternatively, you can link the Welcome section to use your account profile photo. Go to Profile Settings to upload or update it. Any change to your profile photo will automatically update in the Welcome section.